I found this recipe through Pinterest, and we have all fallen in love with it. The flavor is so good, yet there are very few ingredients and it is very simple to make. The original recipe is by Lizzy Writes, and I have changed nothing. Her suggestion about ginger has also been very helpful — freeze it. She chops it into sections, which I am trying, but I’ve also discovered that grating it fresh and wraping the grated ginger in aluminum foil to freeze it works as well.
1/2 – 1 teaspoon crushed red peppers (to desired spiciness)
1 bunch green onions, thinly sliced
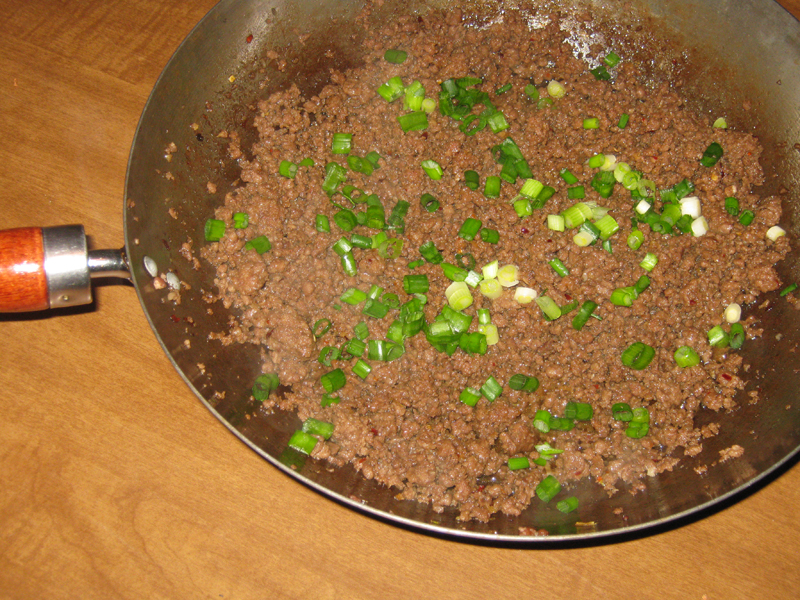
Heat a large skillet or wok over medium heat and brown hamburger with garlic in the sesame oil. This works best if the beef is fresh or unthawed.
Drain most of the fat and add brown sugar, soy sauce, ginger, and red peppers. Simmer for a few minutes to blend the flavors. Serve over steamed rice and top with green onions.
I was reading a Top 10 recipes post from another blogger, which gave me the idea to start off this new year of blogging by sharing a list of my most popular recipes from 2013. Since I didn’t have a full year’s worth of recipe posts, I decided to post my top 5 instead of top 10. Honorable Mention: No Bake Blueberry Cheesecake was only one view away from being tied with General Tso’s Chicken for 5th place.
A tasty side-dish that can be made in the microwave or oven. Click here for the recipe.One of my favorite pasta dishes. I’ve also made it with turkey and penne. Click here for the recipe.My family agrees this is the best sweet potato casserole recipe. For a little extra flavor, try adding 1/4 teaspoon of cinnamon to the filling. Click here for the recipe.I was a little surprised to see this recipe was so popular. It’s one of my favorites, but I didn’t expect so many people to be looking for unleavened bread recipes. Click here for the recipe.It seems fitting that the most popular Chinese recipe in our house should be one of the most popular recipes on my blog. Click here for the recipe.
I found this amazing Homemade Caramel Corn recipe a couple weeks ago on a blog called Gimme Some Oven. The first recipe I had tried was too sticky and burnt easily, but this one is just right. The only alterations I made to the ingredients was less salt in the caramel. I also had to use two roasting pans to bake the corn — it just wouldn’t fit in one. I had them on two different racks in the oven, and switched the pans back and forth when I stirred them so the corn would be heated evenly. The recipe says it will keep for up to a week, but we’ve never had it last much more than 24 hours. If there’s any left, it will be something to munch on while watching Doctor Who.
I have no idea who the artist is, but this is a great painting. Here’s where I found it: doctorwhotv.co.uk
Since I became a Whovian, I’ve actually been looking forward to Christmas. As someone who does not observe the holiday, my previous feelings around this time of year mainly consisted of frustration with the endless barrage of Christmas music on the radio. Now, I look forward to “Whomas.” This year, however, I dread the Christmas special more than I anticipate it. I’m interested to see what kind of Doctor Peter Capaldi will be, but I don’t want to see Matt Smith leave. With his impending regeneration, I’ll have to make sure there’s a box of tissues on hand as well as the caramel corn.
Homemade Caramel Corn
don’t be afraid to let it cook on low for 5 minutes without stirring – it won’t burn
12 cups freshly popped popcorn (about 1 cup kernels before popped)
1/2 cup unsalted butter
1 cup light brown sugar, packed
1/4 cup light or dark corn syrup
1 teaspoon salt
1/4 teaspoon baking soda
the finished caramel
1/2 teaspoon vanilla extract
Preheat oven to 300 degrees F. Line two rimmed baking sheets or roasting pans with aluminum foil, and grease with cooking spray. Begin popping popcorn.
Melt butter in a large pot over medium-high heat. Add brown sugar and corn syrup, stir to combine. Bring to a rolling boil, then reduce the heat to low and let simmer undisturbed for 5 minutes. Stir, then continue to cook for an additional 4 to 6 minutes, stirring every 30 seconds, until the mixture is a deep golden color. Turn off the heat and slowly whisk in salt, baking soda and vanilla.
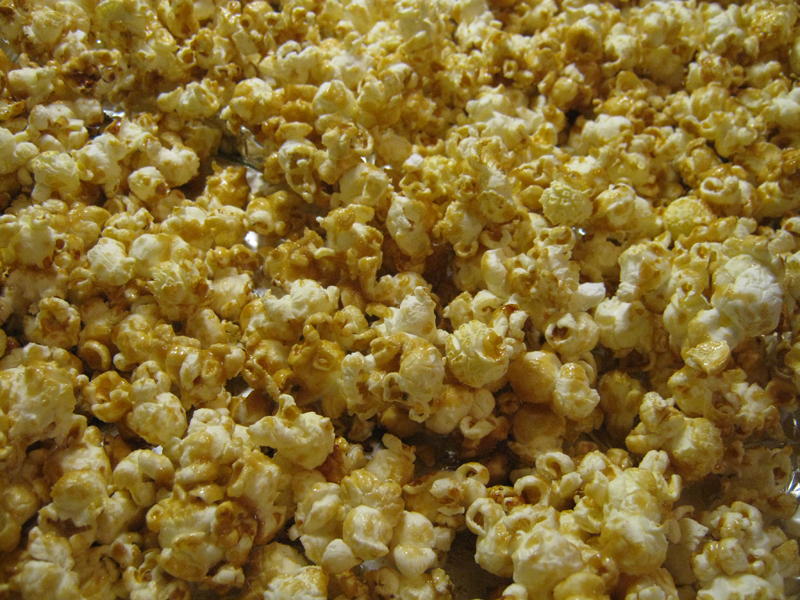
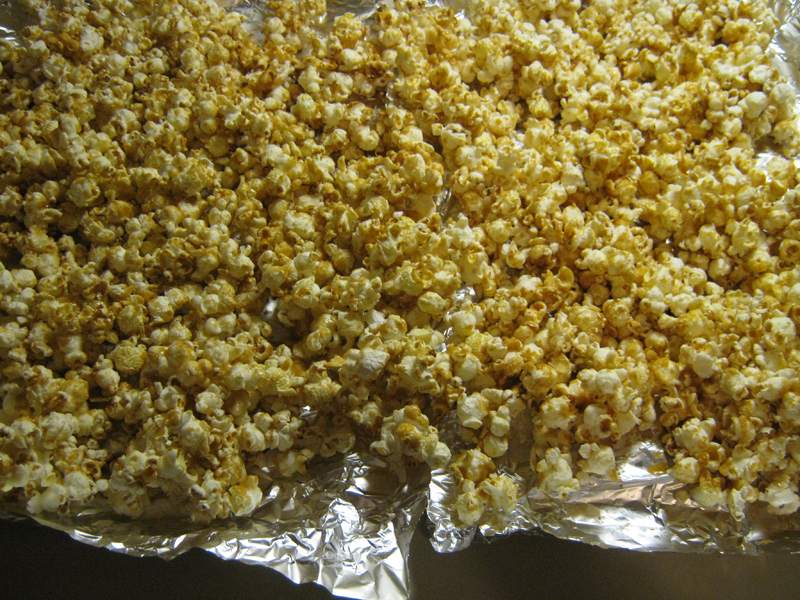
Pour caramel over the popcorn and toss until it is evenly coated with the caramel, being sure to scrape the caramel off the bottom of the pot. Spread the mixture onto the prepared baking sheets or pans in an even layer.
baking in the oven
Bake for 15 to 20 minutes, stirring every 5 minutes, until the caramel corn has turned a deep amber color. Remove the caramel corn from the oven and transfer to a surface covered with parchment or wax paper to cool (or lift the foil out of the pans and place it on the counter). Once it reaches room temperature, use your hands or a spoon to break up the caramel corn, then store in an airtight container for up to a week.
Optional: you can melt about 1/3 cup of milk chocolate and drizzle it over half the popcorn. It’s pretty tasty, but I didn’t do that this time because it takes so much longer to set-up and it’s messy to eat when still melted.
We very nearly had a crisis last night. I was sitting down to type up this recipe so I could schedule it for this morning when I realized I couldn’t find my notes. This is one of my original recipes, so it didn’t exist anywhere except wherever it was I put it. As you can see, I finally located it in the back of a pink notebook that I’d been taking notes in for something else.
One of my favorite things to cook is Chinese food. Ever since I was old enough eat things that didn’t come out of a baby food jar, my parents have been taking me to their favorite Chinese restaurants trying to teach me to love Chinese food. I guess it worked, since I’m now known around our house as “the red-headed Chinese chef.” I keep hearing how terrible soy sauce it for you, though, and I’ve been wondering if there’s a way to decrease the amount of soy sauce in our food without sacrificing flavor.
This recipe is the result of that experiment. Before this, I’d cut the amount of soy sauce in some dishes by up to half (adding rice wine to make up the difference), but this is the first time I’ve tried a full stir-fry without any soy sauce. The results were encouraging. It was a nice white sauce, similar to Moo Goo Gai Pan. Be sure not to leave out the salt — without the sodium in soy sauce it’s bland until the salt is added.
Note: if you’re going to serve this with long-grain brown rice, start it cooking before you put the chicken in the marinade. It usually takes about 45 minutes to cook.
Cooking the chicken
Marinade
1 pound boneless, skinless chicken breasts
1/2 teaspoon fresh, grated ginger
1/4 teaspoon red pepper flakes
1 tablespoon rice wine
Cut the chicken into bite-sized cubes. Mix in the marinade ingredients in a bowl and add chicken. Marinate for 15 to 20 minutes.
Sauce
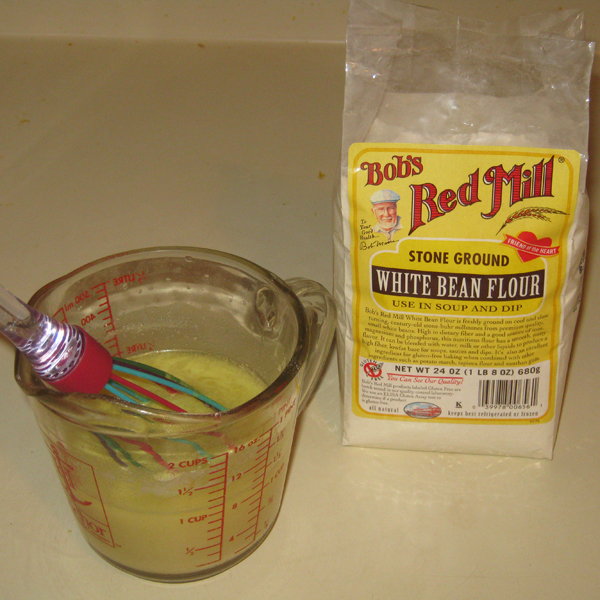
Decided to try some of this bean flour I had in the cupboard instead of my usual tapioca starch. It worked pretty well
1 cup chicken broth
2 teaspoons fresh, grated ginger
2 tablespoons flour or starch
1 tablespoon sesame oil
1 tablespoon rice wine
1 tablespoon honey
1/4 teaspoon salt
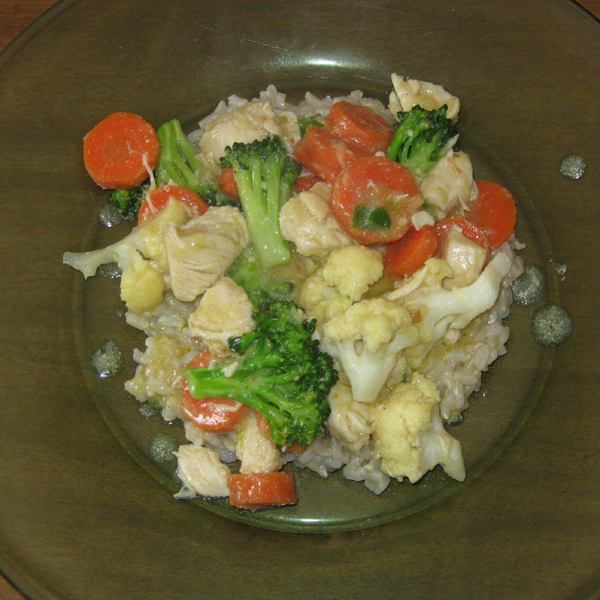
Whisk the sauce ingredients in a medium bowl. Set aside. Prepare desired vegetables. I used carrots, cauliflower, broccoli, and green onions. Other suggestions include bamboo shoots, zucchini, and button mushrooms.
Let the sauce bubble until tit thickens a little
Heat 1 tablespoon of vegetable oil in a wok or large skillet over medium-high heat. Cook chicken until cooked through (no pink). Add vegetables and stir fry until just tender (they should still be a little crunchy if you bite into one). Chicken juices should be evaporated by now. Add sauce and bring it to boil. Stir while it bubbles and thickens, about 3 minutes. Serve over rice.
This has become one of my favorite soups. It is simple and easy to make with few ingredients. Here is the original recipe from Two Peas & Their Pod. It’s a good recipe, and I’ve changed very little to make it perfect for me (basically, I took out the onions because I don’t like them and replaced the fresh thyme with dried because I didn’t have any). It makes a huge pot of soup though, probably enough for 8-10 people, so the version I’m posting here is smaller. It heats up well, so if you want to make a big pot and eat it for several days go right ahead.
In regards to the chicken, you can either boil a chicken breast cut into large pieces for about 7 minutes (until there is no pink left) and then shred it with two forks, or you can use meat left over when making chicken stock from scratch.
One more thing …. I apologize for only have two pictures. I kept for getting to take them while cooking, and then only these two turned out not-blurry and edible-looking.
Chopped carrots and the celery we froze from our garden
1 tablespoon olive oil
1 large carrot, chopped
1 stalk celery, chopped
1 teaspoon ground thyme
2 cloves garlic, minced
1 quart (4 cups) chicken broth
½ cup water
½ cup long grain rice
1 cup shredded chicken
½ teaspoon pepper
½ teaspoon salt
Cook chicken ahead of time and prepare broth. Set aside.
Place a soup pan over medium heat and add olive oil. Add carrot, celery, garlic, and thyme. Cook for about 6 minutes, stirring until vegetables are softened but not browned. Add chicken broth, water and rice. Bring to boil and add chicken, salt, and pepper. Simmer over medium-low heat for about 30 minutes or until rice is tender. Serve hot.
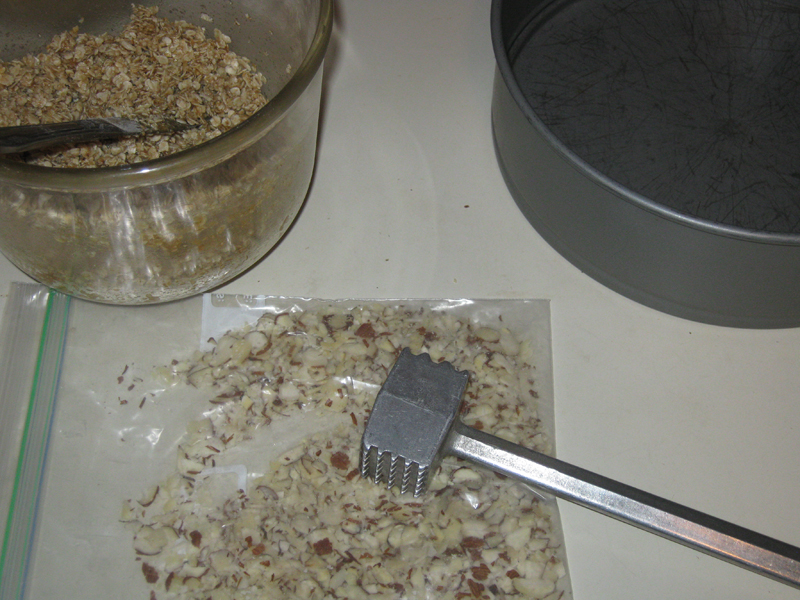
I made this cheesecake for a potluck last week. It is my favorite cheesecake for fall, and also works well as a winter dessert. Since trying it with this oatmeal crust, I’ve stopped using graham crackers at all for this cheesecake. This crust works well for other fruit cheesecakes and can be used with a New York style cheesecake.
No need to butter the pan — this crust doesn’t stick
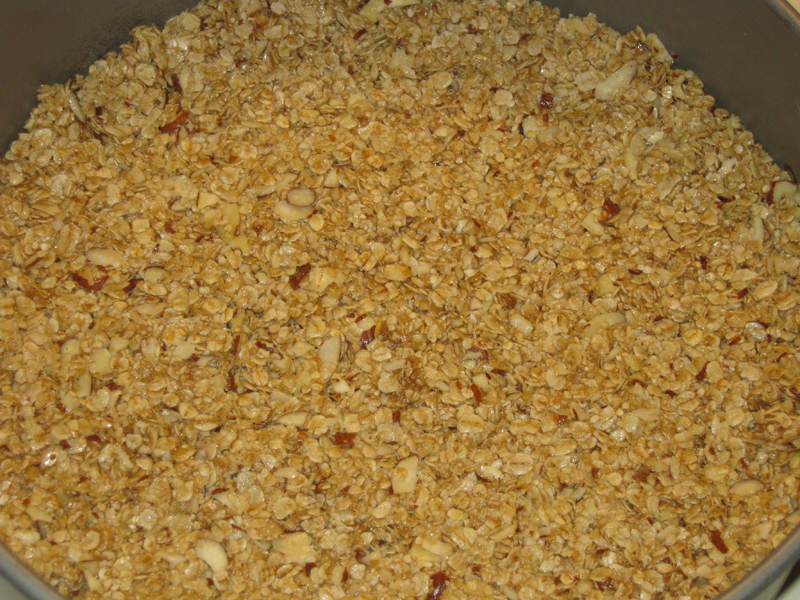
Combine, mix well and press into 9-inch spring-form pan.
Filling
2 (8-oz.) packages cream cheese, softened
1/2 cup sugar
1/2 teaspoon vanilla
2 eggs
Be careful when spreading the batter. It sometimes pulls up the crust if moved around too much.
Beat cream cheese, sugar, and vanilla at medium speed with electric mixer until well blended. Add eggs, one at a time, mixing at low speed after each addition. Pour over crust.
Topping
4 cups peeled apples, thinly sliced
1/3 cup brown sugar
1/2 teaspoon cinnamon
1/4 cup chopped pecans or walnuts
Sprinkle the topping evenly
Toss apples with combined sugar and cinnamon. Spoon apple mixture over cream cheese layer. Sprinkle with pecans.
Bake 1 hour to 1 hour 15 minutes or until center is almost set. Cool before removing rim of pan. Refrigerate 4 hours or overnight.
Drizzle with caramel ice-cream topping just before serving.
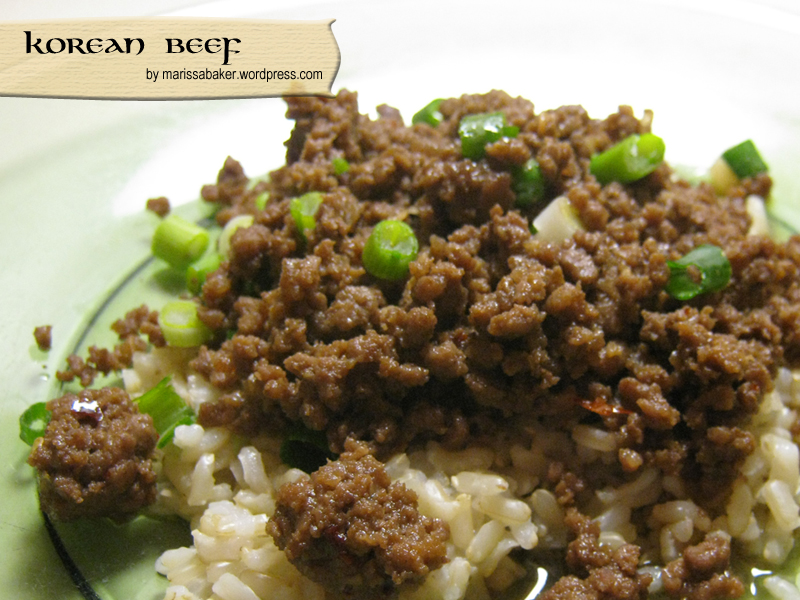 I found this recipe through Pinterest, and we have all fallen in love with it. The flavor is so good, yet there are very few ingredients and it is very simple to make. The original recipe is by Lizzy Writes, and I have changed nothing. Her suggestion about ginger has also been very helpful — freeze it. She chops it into sections, which I am trying, but I’ve also discovered that grating it fresh and wraping the grated ginger in aluminum foil to freeze it works as well.
 1/2 – 1 teaspoon crushed red peppers (to desired spiciness)